Tmux is an excellent tool for managing multiple terminal windows and a perfect match to use with the fast VSCode terminal. In this blog post, I’ll show you how I set both for an ease development process.
If you don’t know Tmux already, here is a super-quick video intro.
OK, let’s talk about the tips.
Easier Shortcut for the Terminal
Instead of the default keybinding that VSCode comes with to open the terminal (which is ctrl+`), I prefer to use ctrl+, just because I feel it’s easier to reach. You can set up that shortcut this way:
- Load the VSCode Command pallet by pressing
CMD + shift + p if you’re on Mac or ctrl + shift + p if you’re on Windows or Linux.
- Lookup for “Open Keyboard Shortcuts (JSON)” and select it.
- In the keyboard shortcuts file, add the following:
[
  {
    "key": "ctrl+,",
    "command": "workbench.action.terminal.toggleTerminal"
  }
]
Better Tmux Bar
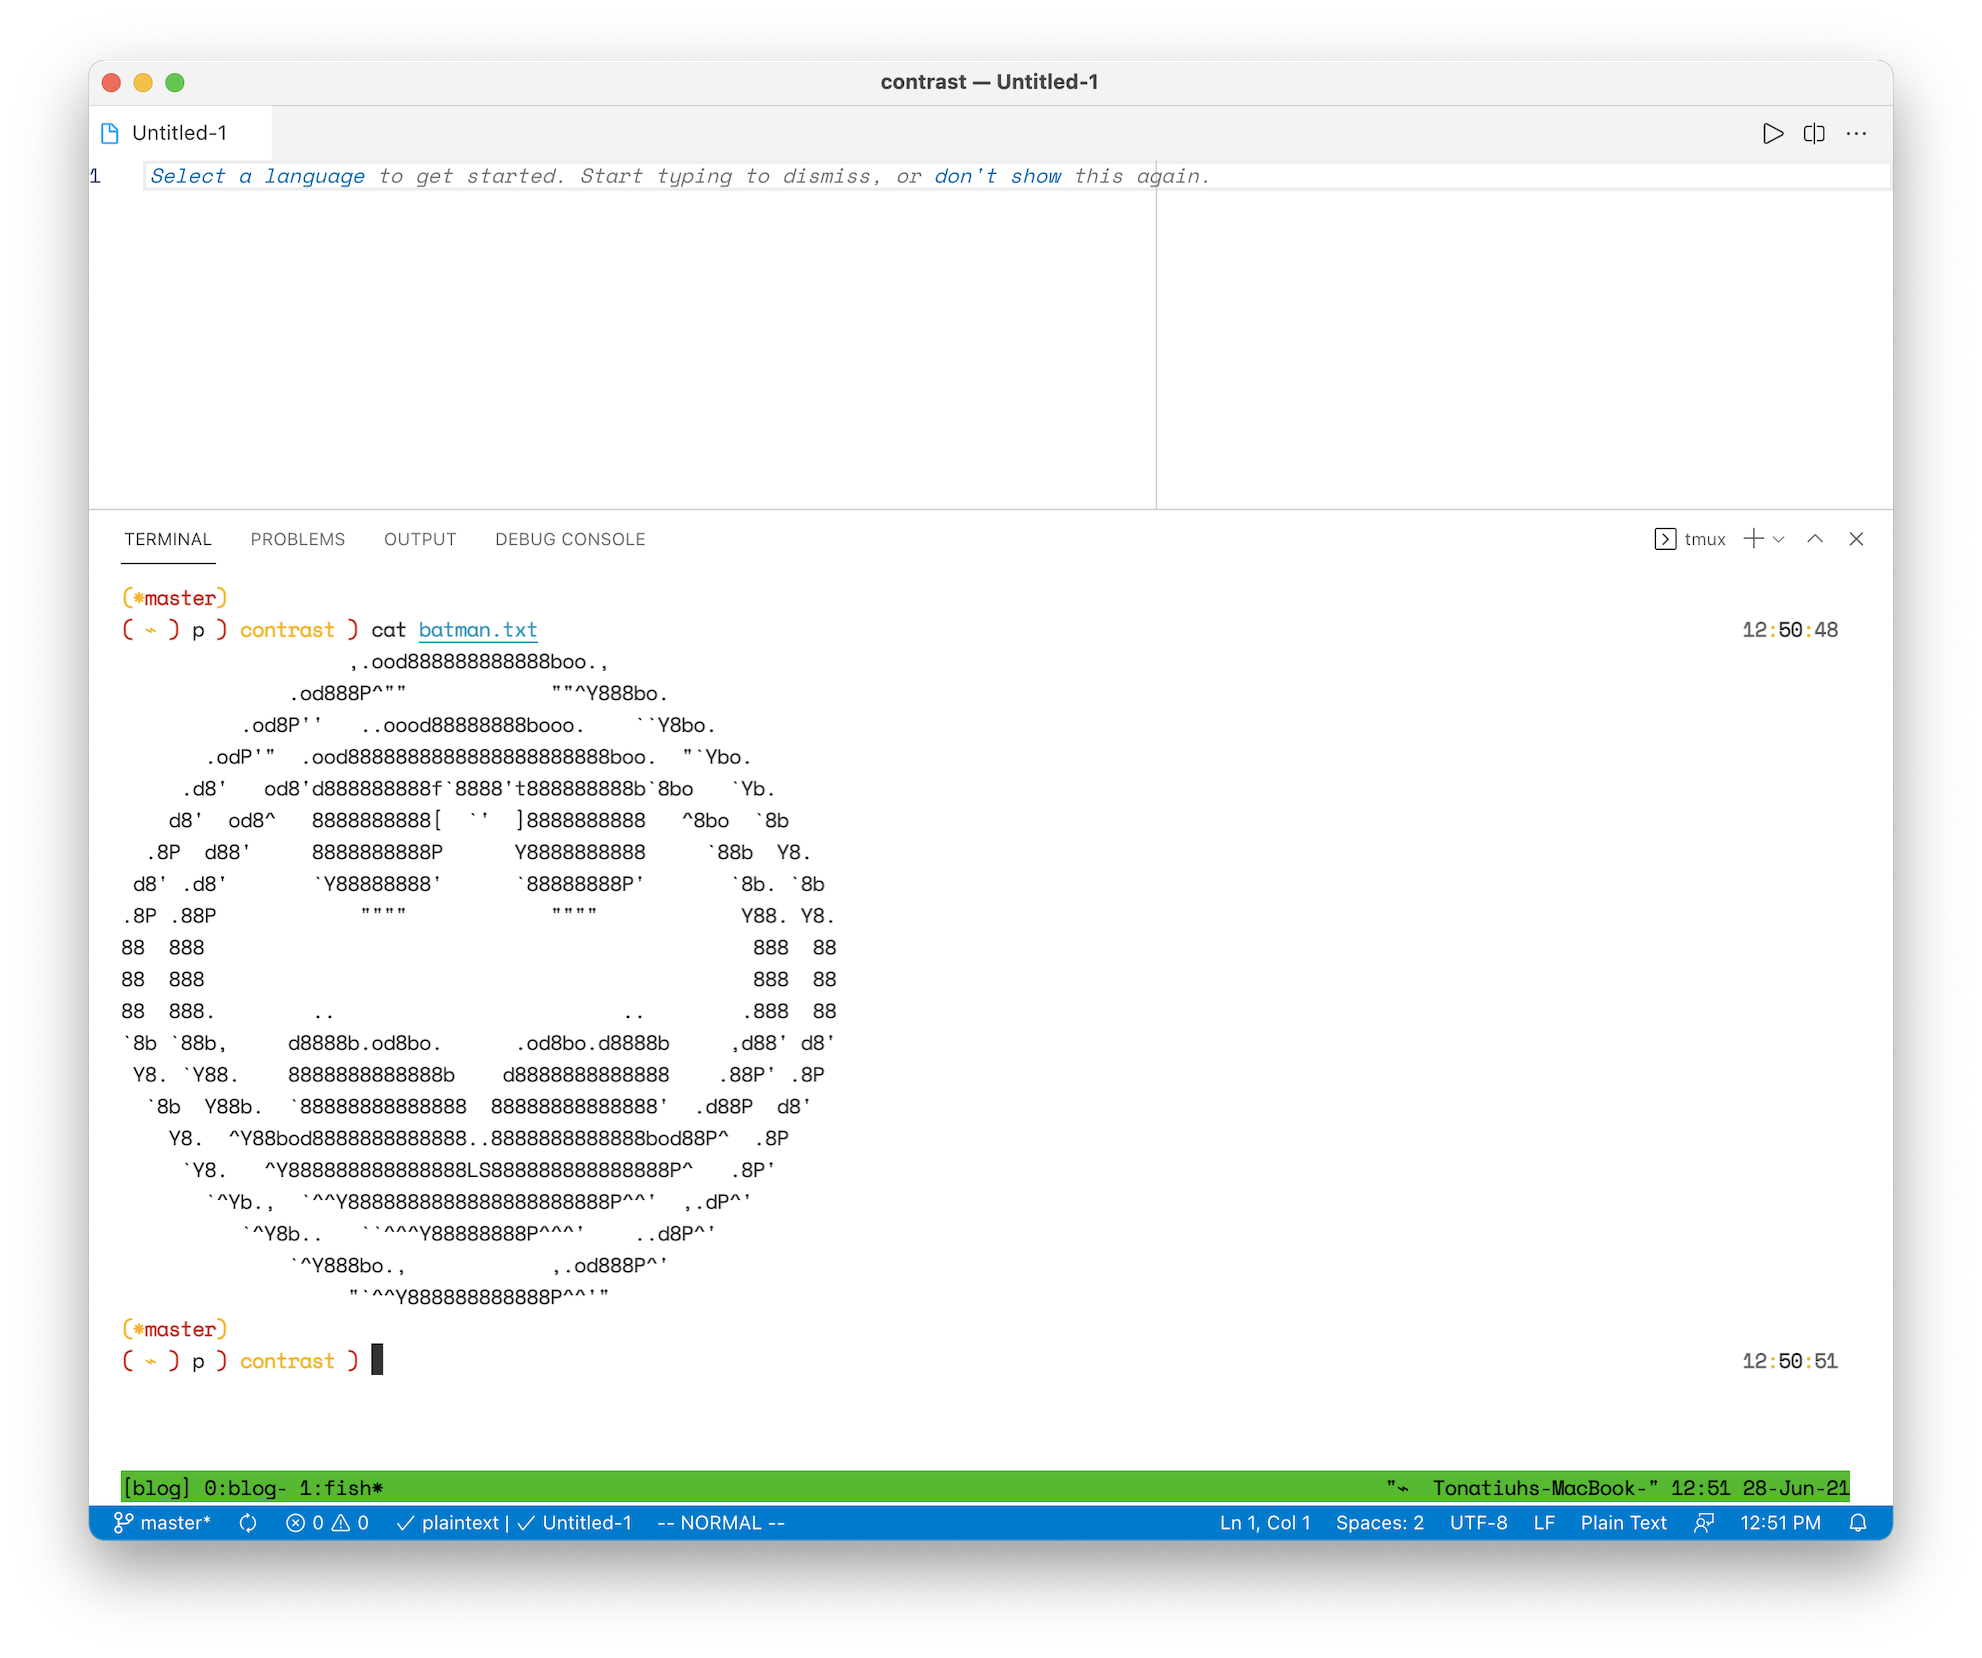
By default, the Tmux bar will show up at the bottom of the screen with a green background color and, in my opinion, with a layout that’s not the greatest:
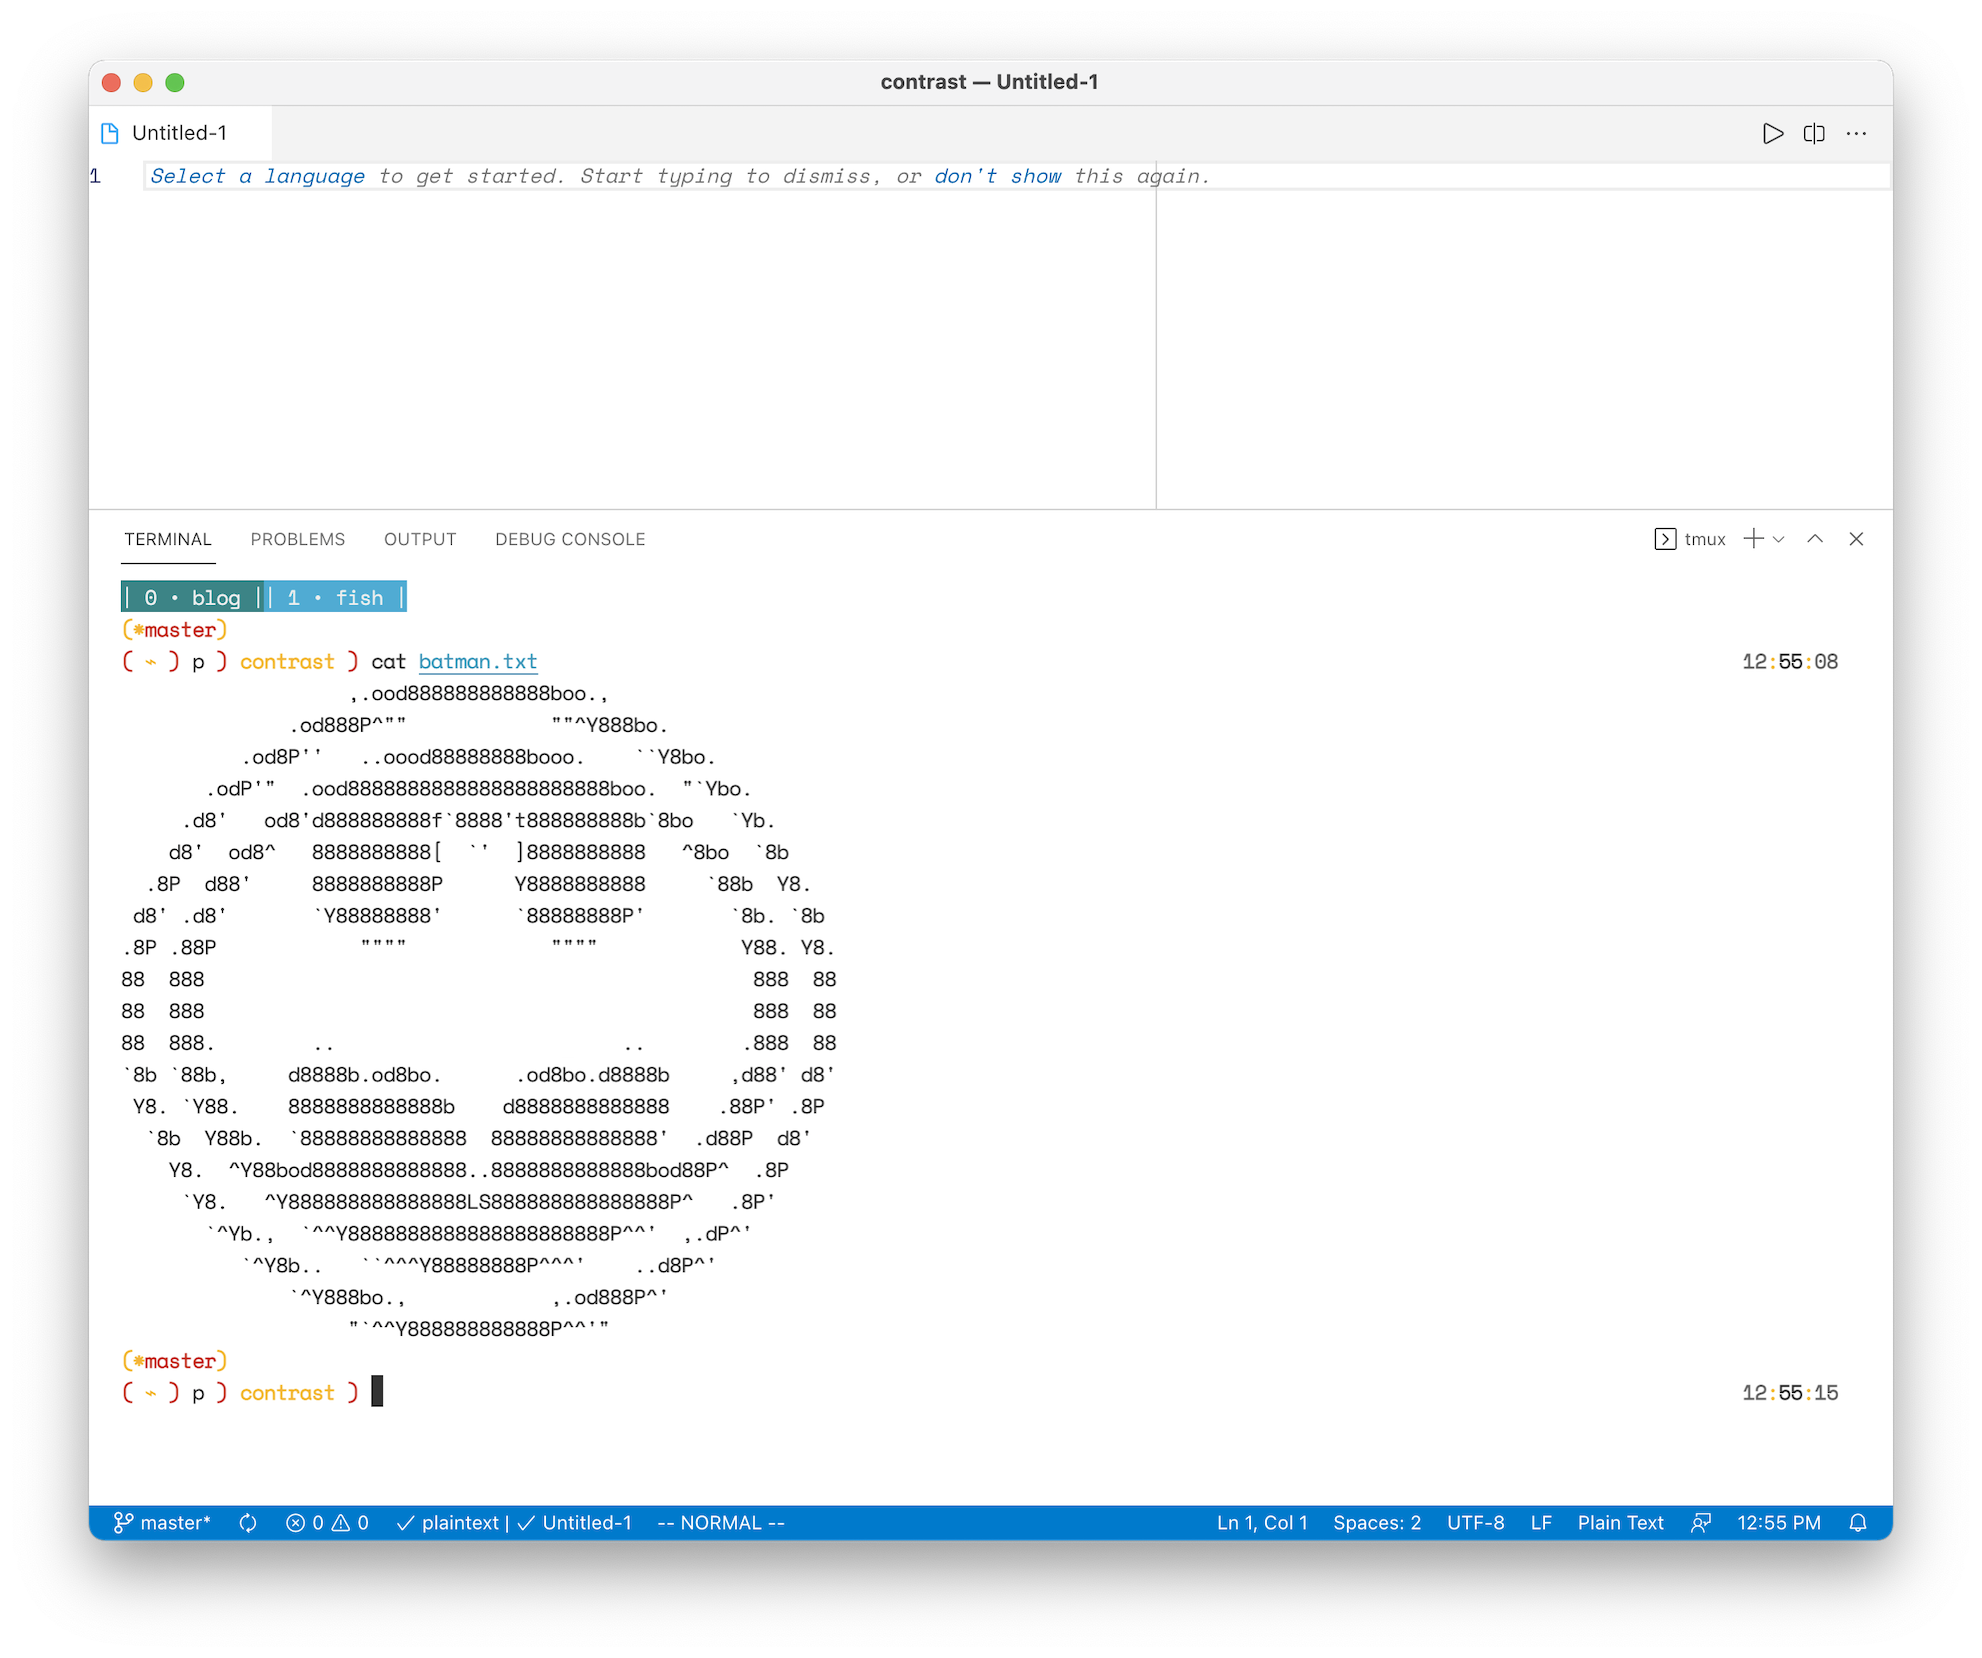
I’ve built this other Tmux bar layout that I’ve found easier to work with:
You can set yours that way by:
$ code ~/.tmux.conf- Add the following to the file’s content:
# Tmux Bar Config #
set -g status-position top
set-option -g status on
set-option -g status-interval 1
set-option -g status-justify "left"
set-option -g status-left-length 60
set-option -g status-right-length 90
set-option -g status-left "#(/Users/tonatiuh/.tmux.powerline/powerline.sh left)"
set-option -g status-right "#(/Users/tonatiuh/.tmux.powerline/powerline.sh right)"
set -g window-status-separator ''
set-window-option -g window-status-current-format "#[fg=colour255, bg=colour38]| #I • #W |"
set-window-option -g window-status-format "#[fg=colour255, bg=colour30]| #I • #W |"
set -g status-bg default
- Then reload the latest changes by pressing your Tmux prefix (by default
ctrl + b), then press : and enter:
Change Windows Default Settings
By default, Tmux does these three things that I didn’t like that much and found how to change:
- Sets the default directory of new windows as the user’s home directory.
- Sets the name of windows with the name of the shell you’re using (ex. “bash”).
- Sets the windows index to start on zero (I prefer it starts on one).
If you want to change that, here is how you can do it:
$ code ~/.tmux.conf- Add in the file:
# Start new windows in the current path and call them "shell"
bind c new-window -c "#{pane_current_path}" -n "shell"
# Start windows on index 1
set -g base-index 1
Now when you open a new window, it’ll be named “shell” and will open in the same directory you were.
My Usual Day-2-Day Setup
As I’ve been using Tmux more and more, I’ve come up with my convention of what Tmux windows I need for most apps I work on. The list goes this way:
- The app’s server window (with the name of the project).
- The REPL of the app I’m working on.
- The shell where I do anything about Git.
- The shell for testing.
They’ll look pretty much this way:

Wrapping up
Another great thing about using Tmux with VSCode is that if I need to restart VSCode, my Tmux sessions will still be where I left them. That’s great when working on multiple apps because I can close and open their projects, but my Tmux sessions will be just where I left them.